Configuring Oscar as an Internet Base
Take DJI Phantom 4 RTK as an example
Are you tired of any cons of UHF radio setup at the RTK base station? Or naturally, consider the NTRIP correction is proper for your RTK applications? Within a few seconds by several simple button presses on the Oscar GNSS receiver's configuration panel, you are ready to connect any NTRIP capable rover receivers to the correction data stream broadcasted by the Oscar base station.
1. Configuring the Oscar Receiver
1.1 Connecting the receiver to the cellular network Internet
1) Insert a SIM card into the receiver. The sim card could be from any one of your local telecom operators. There is nothing special you need to worry about, e.g., a public or static IP address. Just be sure you have a data plan.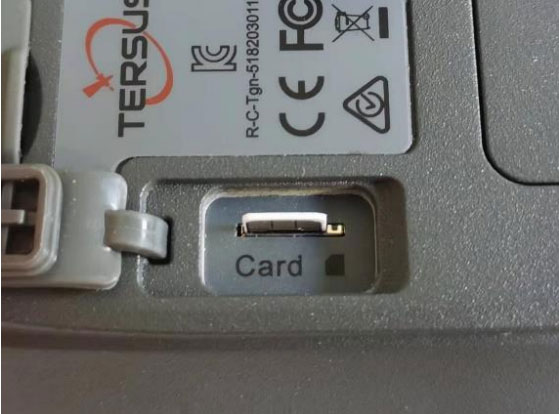
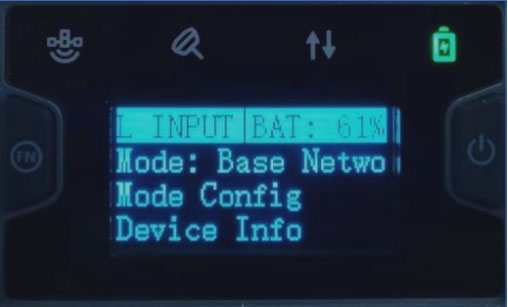
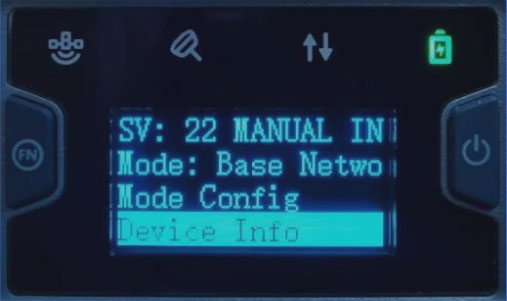
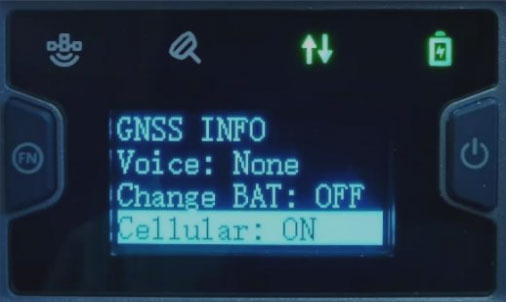
2) Turn on the cellular network connection over the configuration panel on the receiver. Use the two buttons on the panel to operate the menu shown on the OLED display. (For details of the operation over the configuration panel, please refer to the Oscar User Manual.)
Main Menu → Device Info → Cellular: ON
1.2 Setting the Oscar to broadcast correction over TCS
1) Enter the TCS configuration page on the OLED display. Use the two buttons on the panel to operate the menu shown on the OLED display.
Main Menu → Mode Config → Base Mode → TCS
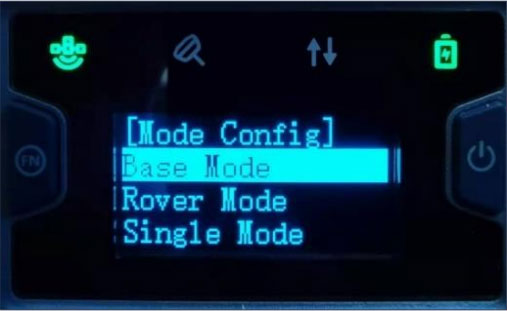
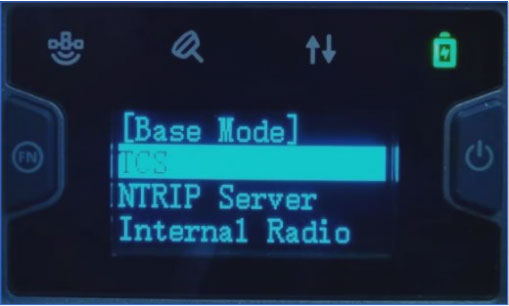
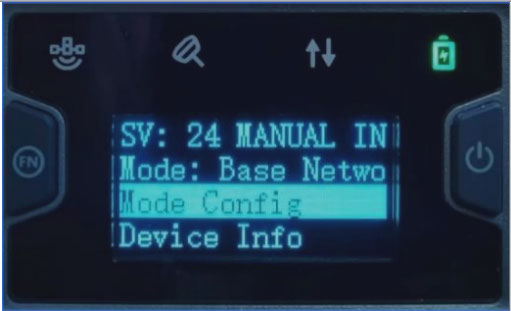
2) On the TCS page, you have options to change the data format. The formats includes RTCMv3.2,RTCMv2.3,CMR,etc. You also have options to change the server. Typically it is recommended to choose the nearby one according to your location. For example, North American users would choose usacaster1. Once you have made the proper changes for your application, scroll down to ‘Confirm .’ Then go back to the main menu.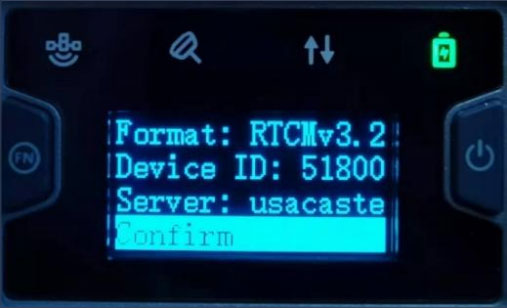
1.3 Checking the correction status on the OLED display
1) Set up the receiver in the proper location. (For details of how to set up a base station physically, please refer to the Oscar user manual.) Leave the highlight on the first entry of the main menu. You could monitor the number of SV(Satellites Visible)and battery power.
2) Scroll the highlight of the second entry. Confirm that you see the printing ‘Mode: Base Network Connected.’ You may also refer to the third(from left) LED indicator on the panel. It is LED is flashing GREEN, the correction data stream is fine. 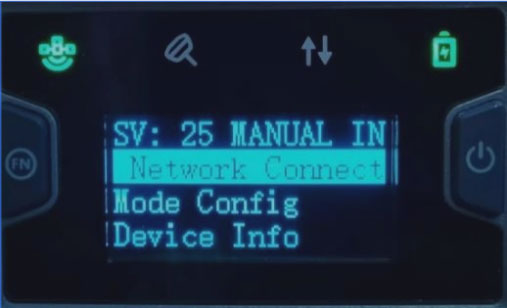
2. Configuring NTRIP client connection on DJI controller
1) Make sure your DJI controller has access to the Internet. This can be either cellular on a SIM card inserted in the controller or a Wi-Fi hotspot.
2) Open the DJI GS RTK app.
3) Click Fly on the start page.
4) Click the Settings menu ‘···’ from the top right corner.
5) Select the RTK tab on the side menu.6) Switch on the Aircraft RTK positioning.
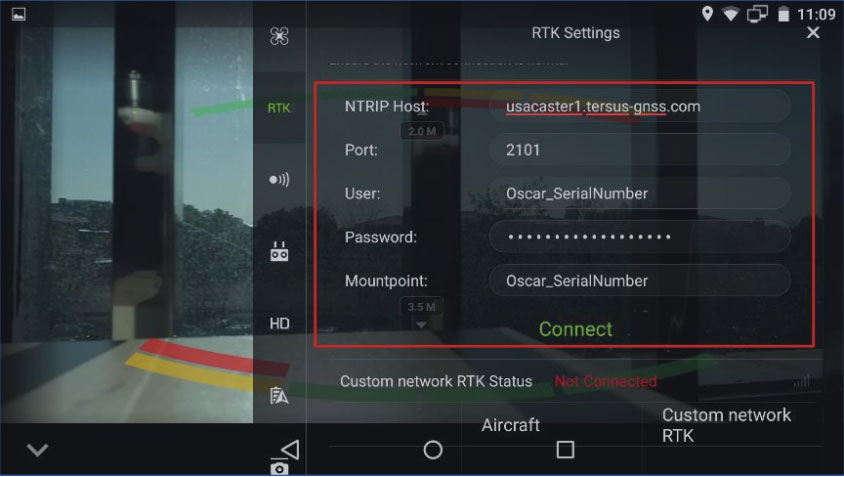
7) Enter the NTRIP login info as below and click Connect.
NTRIP Host: usacaster1.tersus-gnss.com
(according to your chosen option in previous steps) Port: 2101
User: OSCAR_SerialNumber
Password: OSCAR_SerialNumber
Mountpoint: OSCAR_SerialNumberNote: find the Serial Number on the bottom of your Oscar receiver. You may find a string like ‘S/N:1234567890’. In this example, your user name, password, and mount point is OSCAR_1234567890.
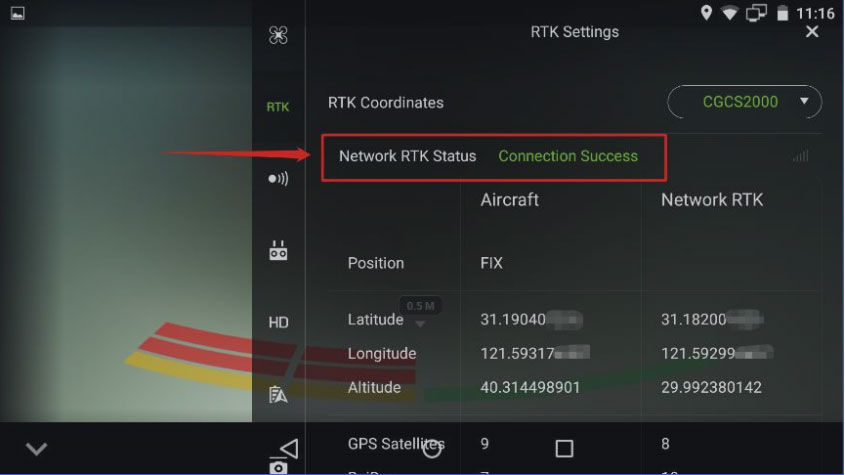
The drone is now ready to fly with the RTK corrections from the Tersus Oscar GNSS receiver.
3. Extension
Literally, the Oscar receiver's NTRIP correction could be used with any third-party rover receivers that support NTRIP client corrections. These include survey rover receivers, auto-steering systems on tractors, machine control systems, etc.
4. Support
Should you need any technical support, please contact us without hesitation. support@tersu-gnss.com

Comments
Post a Comment